前言
距離前一篇,已經超過了一年多沒有再發新文章了,這一年多歷經了搬家、轉職等等的過程。最近是從純軟產業跳到 IC design,領域大相逕庭,雖然當時也有其他外商純軟 offer,思考許久後才做出決定。不過,雖然是在 IC design,筆者的 Team 還是比較偏向軟體開發的部分,但就不是開發產品導向了,而是開發相關 CI/CD flow 的服務以及工具,使用者就是內部 RD。雖然不是雲相關的開發,但針對 DevOps 的鑽研,我相信應該也會學習到許多,並且打算繼續耕耘自己的 Blog,分享一些技術文章。
前面扯太遠了 XD,進入正題。最近 Team 內部有個需求,一些有關於 CI/CD 需要的腳本或是程式碼,因為公司政策無法放在公司內部系統的 Perforce(安全性考量),一開始一位公司前輩是幫忙架設了 git bare repository,能夠讓我們操作 git。但最近服務建置越來越龐大,而且其他 Team 也可能會一起進來協同開發,因此筆者便萌生念頭,想說來試試看自架一台 git server 在 IT 配的 Linux server上,並且若能串上公司的 LDAP,RD 們就能夠順利上手 git 並且使用上也比較友善。
Gitlab deployment
Download Gitlab docker image
由於 IT 所提供的 Linux server環境是沒有對外網,因此一定得離線安裝 docker 後,再透過從其他有外網 server 上先下載 Gitlab 的 docker image,並且 push 到 Linux server 上的 private registry中。架設 private docker registry 在之前的文章有提過,有興趣的讀者們可以再去看一下。
1
docker pull gitlab/gitlab-ee:15.2.2-ee.0
Download 之後,重新 re-tag 並且 push 至 remote 的 docker registry 上. (5000 port 為 default port, 設置 registry 時可以自己變更)
1
2
docker tag gitlab/gitlab-ee:15.2.2-ee.0 IP.xx.xx.xx:5000/gitlab/gitlab-ee:15.2.2-ee.0
docker push IP.xx.xx.xx:5000/gitlab/gitlab-ee:15.2.2-ee.0
Push 完之後,便可以在 Linux server 上使用 docker pull 就可以囉。不過若是不想設置 registry,直接使用 docker save 方式將 image 打包再傳過去也OK。
Deploy by docker-comspoe
Gitlab 官網已經寫得十分詳細,不管用 docker run 或是 docker-compose 也都有說明了,筆者在這邊使用 docker-compose 讓日後其他相關開發者能夠管理 yaml,單純 run 起來可能很多配置都會要重 key,比較不方便一點。
1
2
3
4
5
6
7
8
9
10
11
12
13
14
15
version: '3.6'
services:
  web:
    image: 'IP.xx.xx.xx:5000/gitlab/gitlab-ee:15.2.2-ee.0'
    restart: always
    hostname: 'IP.xx.xx.xx'
    ports:
      - '8088:80'
      - '8443:443'
      - '8822:22'
    volumes:
      - '$GITLAB_HOME/config:/etc/gitlab'
      - '$GITLAB_HOME/logs:/var/log/gitlab'
      - '$GITLAB_HOME/data:/var/opt/gitlab'
    shm_size: '256m'
官網提到說若是 Linux server 環境可以將 $GITLAB_HOME 設置在 /srv/gitlab。

最後,再利用 docker-compose 將 gitlab 帶起來:
1
docker-compose up -d
一開始 container 名稱後面會出現 check healthy 的字眼,表示正在運行一些內部 config,等待一段時間之後就可以囉。
LDAP settings
Revise your gitlab.rb
主要 gitlab 的設定都會在這支檔案裏面,在 docker-compose 中,我們也有 mount 這隻檔案出來了,所以就會是在 /srv/gitlab/config/gitlab.rb。其實在 gitlab 官網也很貼心的有說明了 LDAP 的設定方法。基本上,就是將 LDAP 被 comment 掉的相關設定加回來,填上公司 LDAP 的資訊即可。
1
sudo vim /srv/gitlab/gitlab.rb
1
2
3
4
5
6
7
8
9
10
11
12
13
14
15
16
17
18
19
20
21
22
23
24
25
26
27
28
29
30
31
32
33
34
35
36
37
38
39
40
41
gitlab_rails['ldap_enabled'] = true
gitlab_rails['prevent_ldap_sign_in'] = false
gitlab_rails['ldap_servers'] = {
  'main' => {
    'label' => 'LDAP',
    'host' =>  'ldap.mydomain.com',
    'port' => 389,
    'uid' => 'sAMAccountName',
    'encryption' => 'simple_tls',
    'verify_certificates' => true,
    'bind_dn' => '_the_full_dn_of_the_user_you_will_bind_with',
    'password' => '_the_password_of_the_bind_user',
    'tls_options' => {
      'ca_file' => '',
      'ssl_version' => '',
      'ciphers' => '',
      'cert' => '',
      'key' => ''
    },
    'timeout' => 10,
    'active_directory' => true,
    'allow_username_or_email_login' => false,
    'block_auto_created_users' => false,
    'base' => 'dc=example,dc=com',
    'user_filter' => '',
    'attributes' => {
      'username' => ['uid', 'userid', 'sAMAccountName'],
      'email' => ['mail', 'email', 'userPrincipalName'],
      'name' => 'cn',
      'first_name' => 'givenName',
      'last_name' => 'sn'
    },
    'lowercase_usernames' => false,

    # EE Only
    'group_base' => '',
    'admin_group' => '',
    'external_groups' => [],
    'sync_ssh_keys' => false
  }
}
這邊以筆者的經驗,需要必填的有:
host: LDAP hostport: LDAP portbind_dn: 認證 LDAP 的帳號,通常會是一個 admin account,depends on 各自設定。password: 搭配上方 admin 帳號的密碼。base: 這邊一開始筆者沒有填,導致 LDAP 一直沒有連接成功。填上公司 LDAP 的 DC。
其餘的話,就依據各自的需求,不然照預設填即可。
Gitlab reconfigure
修改完 config 之後,便可以進去 gitlab container 內部:
1
gitlab-ctl reconfigure
再透過 command 來測試 LDAP service 是否連接成功:
1
gitlab-rake gitlab:ldap:check
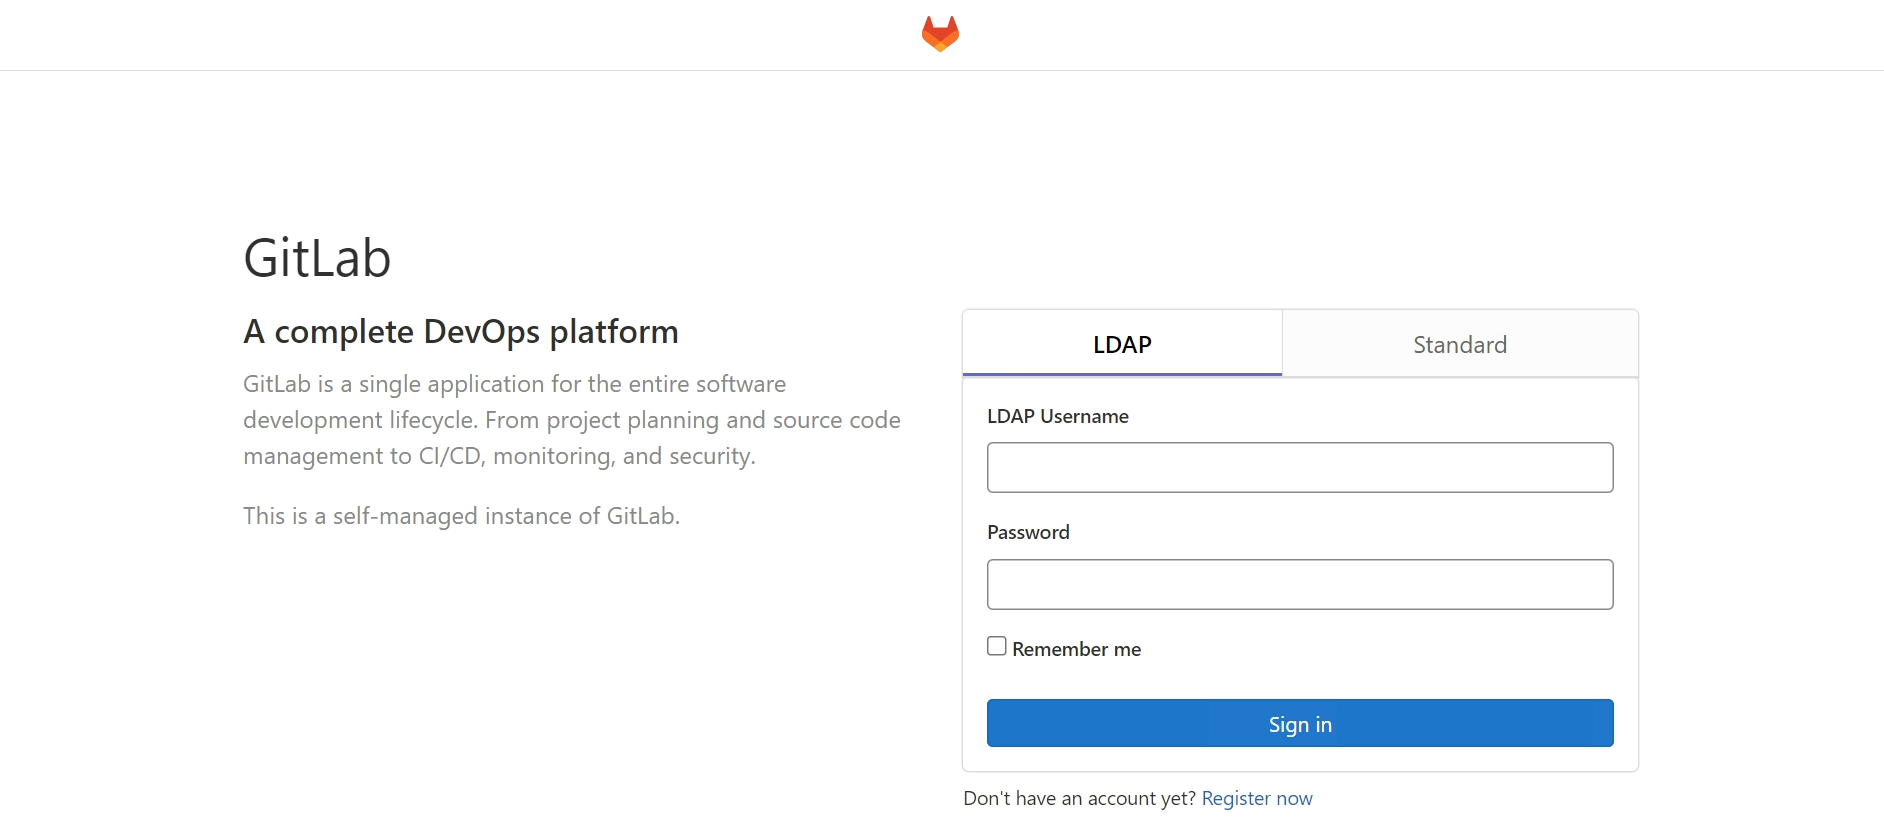
最後在登入頁面,便可以看到 LDAP 的登入選項啦,大功告成。
總結
雖然在 IC design 使用這種 opensource 的開發不多,很多公司內部 source code 也不能揭露太多,因此可以發的文章便屈指可數。最近剛好有這個機會跟大家分享一下這個 gitlab 串 LDAP 的自架經驗,期望未來可以有更多文章可以跟大家分享。哈!
Contact me
有任何疑問或是建議歡迎聯絡 Jimmy!
Gmail: jimmyw86878@gmail.com